Learn how to froth milk: With these 5 tips for perfect milk foam
For a good cappuccino or latte macchiato, perfecting the milk foam is essential. Smooth, creamy foam contributes immensely to the flavor and mouthfeel of your latte. While frothing milk isn't rocket science, it still presents a challenge for many (home) baristas. Therefore, in this blog post, we'll explain how you can get closer to achieving the perfect milk foam.
How to froth milk correctly with the steam nozzle – briefly explained
1. Temperature: Always use cold, fresh milk
An important factor in milk frothing is the temperature of the milk during the various stages of the process. It's easiest to use cold milk, as you then have more time for each stage. Already frothed milk that has cooled down again doesn't froth as well as fresh milk. Therefore, it's best not to froth milk more than once.
2. Rotation of the milk: Note the position of the steam wand
The milk should be swirled in a circular motion throughout the entire process to allow the incorporated air to be processed into a creamy mass. It's best to place the steam wand through the nose of the milk jug at the 9 or 3 o'clock position. Always keep the edge about 1-2 cm away from the wall of the milk jug. Also, make sure you immerse the steam wand outlet 2 cm into the milk before you begin frothing. Otherwise, you'll create large bubbles that won't be able to froth into fine foam later.
3. Drawing phase: This is how the milk foam is created
Now turn the steam on full and slowly lower the milk jug. The steam wand is now closer to the surface, and milk foam is created. You'll know when it's done by the subtle hissing sound. If bubbles appear and the milk bubbles, the steam nozzle is too close to the surface. The longer you stay at this point, the more foam will be created. During this phase, you control how much milk foam you want to produce. In any case, the drawing phase must be completed as soon as the milk is lukewarm, i.e., when it has reached 35-40°C.
4. Rolling phase: How to froth your milk creamy
During the rolling phase, the milk foam created during the drawing phase is evenly distributed, creating a homogeneous, creamy mass. The longer this phase, the silkier and finer your milk foam will be. All you have to do is move the milk jug upwards a little. This immerses the steam wand a little further into the milk. The fine bubbles are sucked downward, and the rotation ensures that a silky milk foam is created. You must end the rolling phase as soon as the milk reaches a temperature of 60-65°C. Otherwise, the lactose will burn, and the milk will lose its delicious sweetness. Plus, your guest could burn their mouth.
5. Post-processing: Cleaning the steam lance
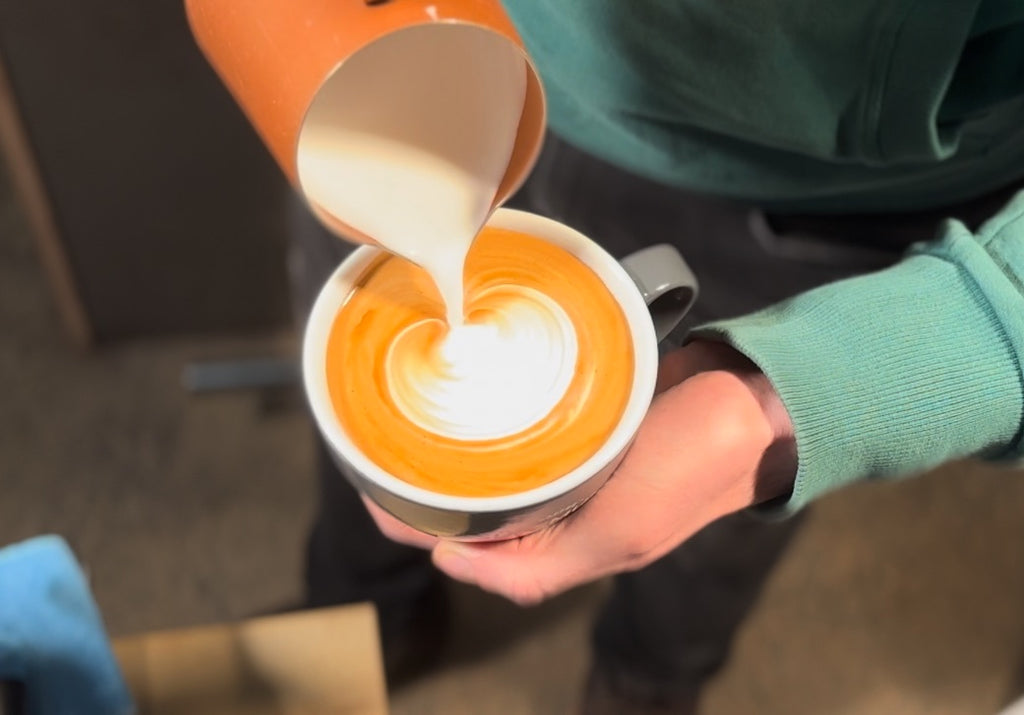
Now clean the steam wand with a damp cloth and briefly activate the steam tap to ensure no milk residue remains in the steam nozzle. If your milk has small bubbles, you can minimize them by gently tapping the milk jug on the countertop. In any case, you should swirl the milk in the jug in a circular motion afterward until you begin pouring. This ensures the milk foam remains a creamy, glossy, and homogenous mass and prevents it from separating into milk and foam.
If you follow these tips, you will be able to produce creamy, fine-pored milk foam in no time, turning a cappuccino into a true delight.
Frequently asked questions:
Q1: How can I froth milk without a device?
If you don't have an espresso machine, you can also froth milk with other devices. The cheapest option is a small handheld frother, which allows you to froth small amounts of milk into a rather coarse froth. However, this small handheld frother doesn't heat the milk.
You can create slightly larger quantities of warmer and finer milk foam with an electric milk frother. When purchasing a milk frother, make sure the whisk attachment is removable, which makes cleaning easier.
Q2: Which milk is best for frothing?
For flavor, you should choose milk with the highest possible fat content. Lactose-free milk produces foam particularly easily, but tastes a bit sweeter. In principle, you can use any milk you like for frothing.
There are also numerous vegan milk alternatives that you can froth just as well. In most cases, you'll get better results with the "barista" versions of the milk alternatives, as these products have a higher protein and fat content.
Q3: At what temperature does milk froth best?Always use cold, fresh milk that hasn't been frothed before. If you want to froth already warmed milk, you won't be able to follow the pulling and rolling phase described above. Therefore, you'll have difficulty creating creamy, fine-pored milk foam without bubbles.
Leave a comment